Quickstart#
Connect the Open edX Commerce plugin for WordPress to the Enrollment API of your Open edX Platform#
Let us start installing and configuring the Open edx Commerce plugin to connect your WordPress site with the enrollment APIs from your Open edX platform.
Index#
Installation#
Requirements#
PHP 8.0 or greater is recommended
Wordpress 6.3.1 or greater
Automatic installation#
To automatically install Open edX Commerce, log in to your WordPress dashboard. Then, navigate to the Plugins menu and click on “Add New.”
In the search field, type “Open edX Commerce” and click “Search Plugins.” Once you find the plugin, you can view its details and install it by clicking “Install Now.” WordPress will handle the rest of the installation process for you.
Manual Installation#
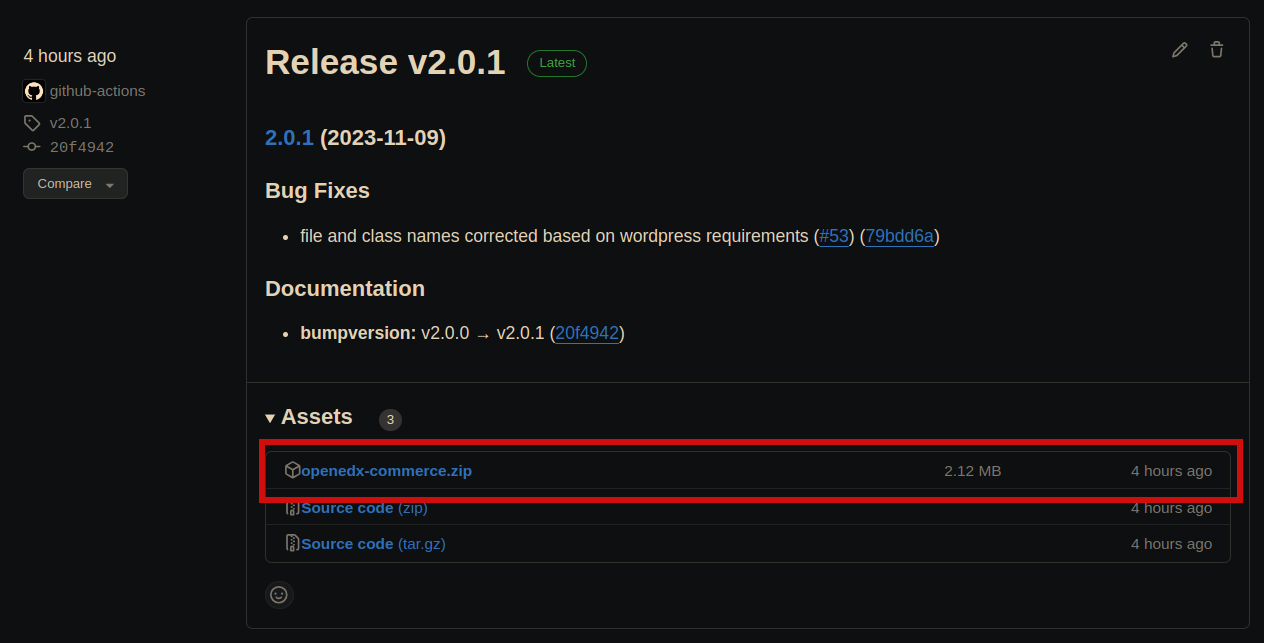
Download the ZIP version on the release page in the GitHub repository.
Log in to your WordPress admin dashboard, navigate to the Plugins menu in the sidebar and click Add New.
Upload the ZIP version of this project.
Activate the plugin.
Configure the Plugin#
In the sidebar of the WordPress admin dashboard, go to Settings, then to Open edX Sync Plugin Settings, and fill that form with your LMS Open edX platform domain and a client_id and client_secret from an OAuth application in your Open edX platform.
Click Save Changes and then Generate JWT Token.
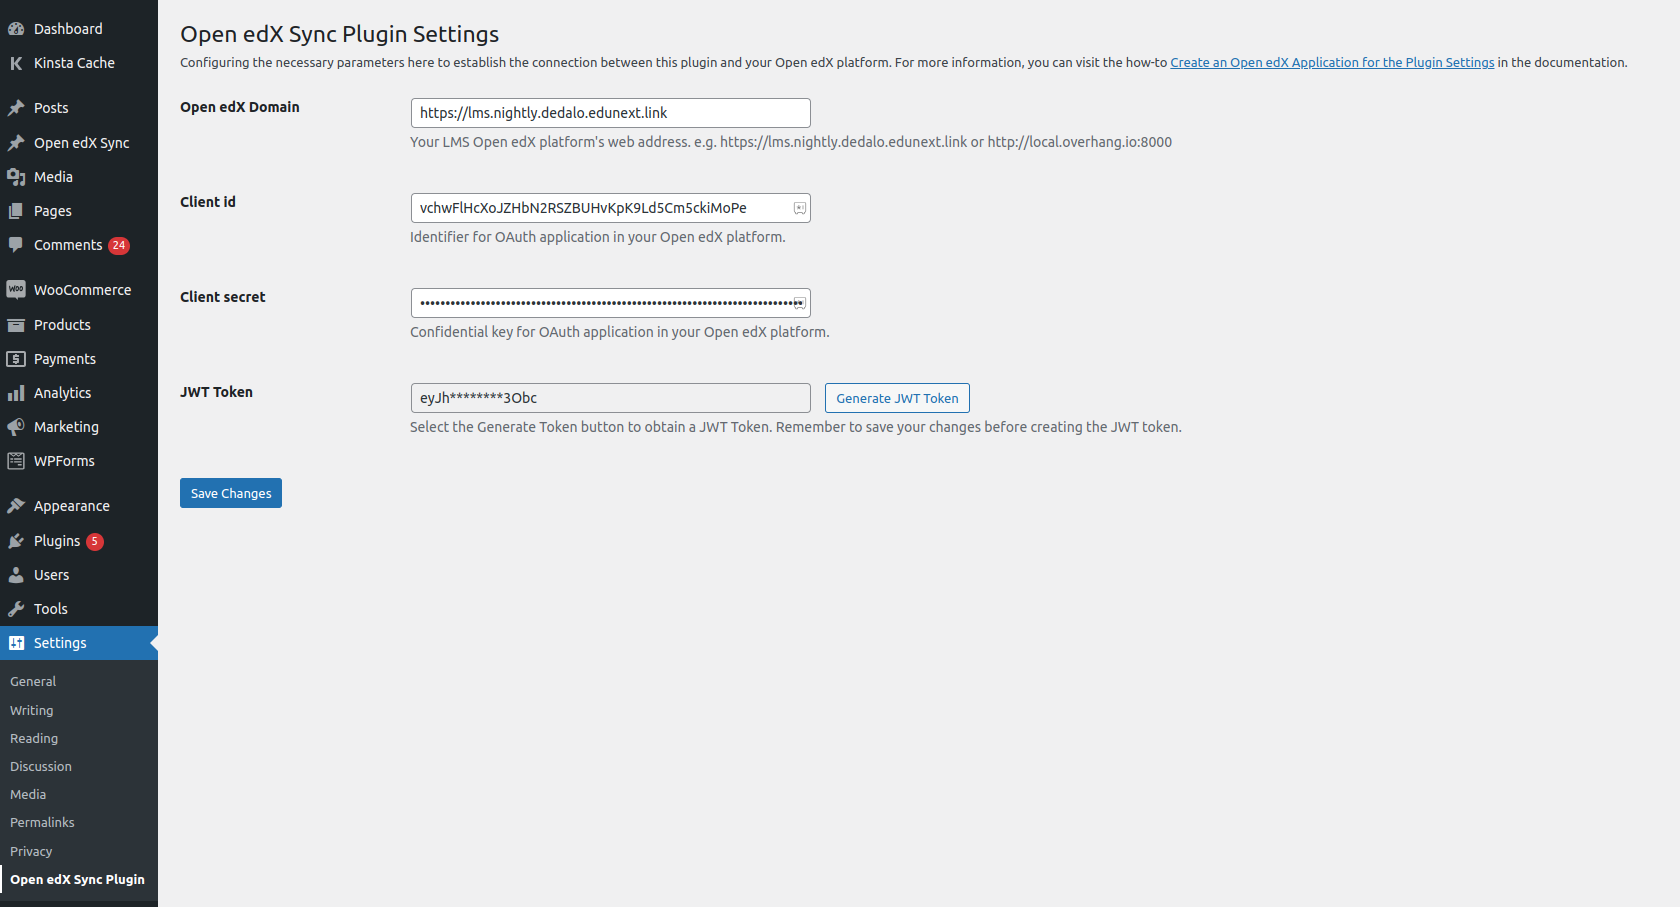
You should see a New token generated message.
Note
To know more about how to fill this settings, you can visit How-to: Create an Open edX Application for the Plugin Settings.
Create an Enrollment Request#
This plugin is connected with your Open edX platform; if you could create your JWT token. Now, if you want to rectify that, you can create enrollments. To do that, you need to generate enrollment requests manually by following these steps:
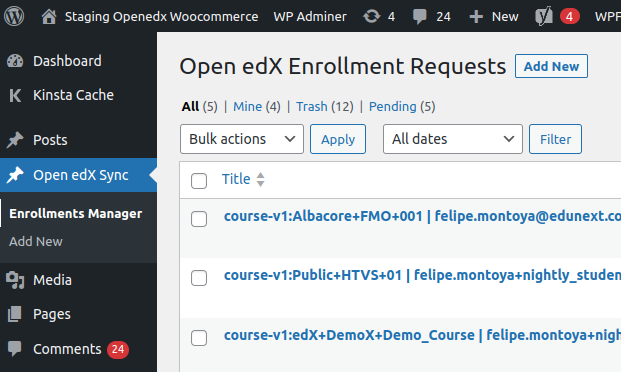
Enter the Enrollments Manager option in your WordPress dashboard’s Open edX Sync tab, and click Add New.
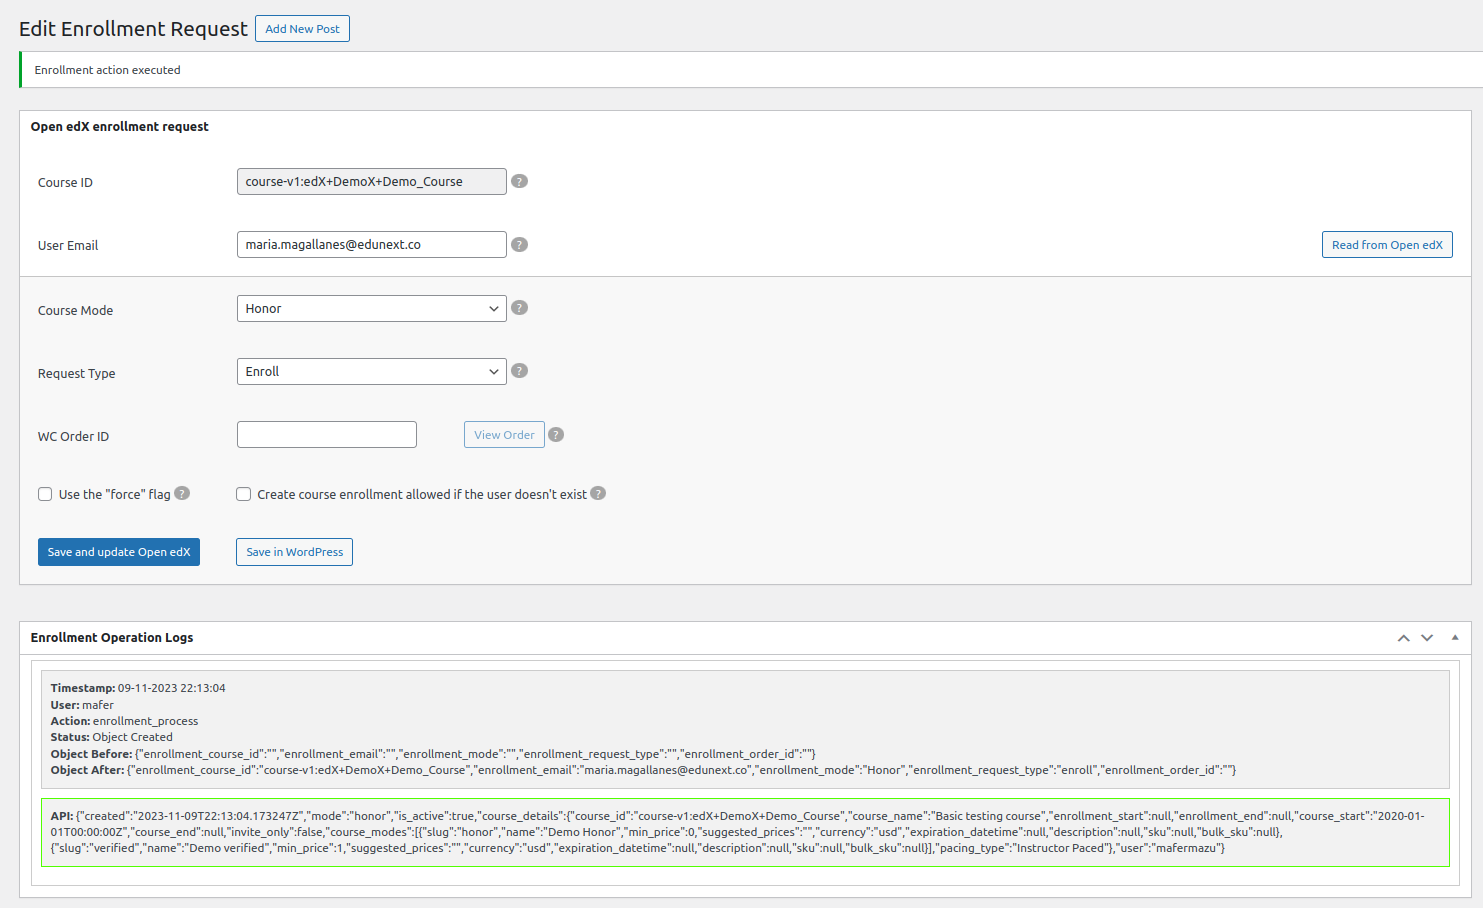
Fill the form with a course ID from a course in your Open edX platform, an email from an existing user, and a course mode from the course you use in the course ID field. We will use Enroll as a request type.
Create an enrollment by clicking Save and update Open edX.
Note
To know more about how to fill this settings, you can visit How-to: Create enrollment requests manually.